Hugo로 운영하는 github pages는 글쓰기가 불편합니다.

github에서 바로 포스트를 작성하여 커밋할 수도 있지만,
작성된 마크다운 파일의 프리뷰를 보려면 로컬에서 실행을 해봐야 하기 때문에 결국에는 해당 저장소를 clone 해야 합니다.

그래서, 조금 쉽게 쓸 수 있는 방법을 고민하다 이번에 CMS를 추가했습니다.
헷갈릴만한 부분은 이미지를 넣어 놨습니다.

0. 진행하기 전 한계 및 유의 사항

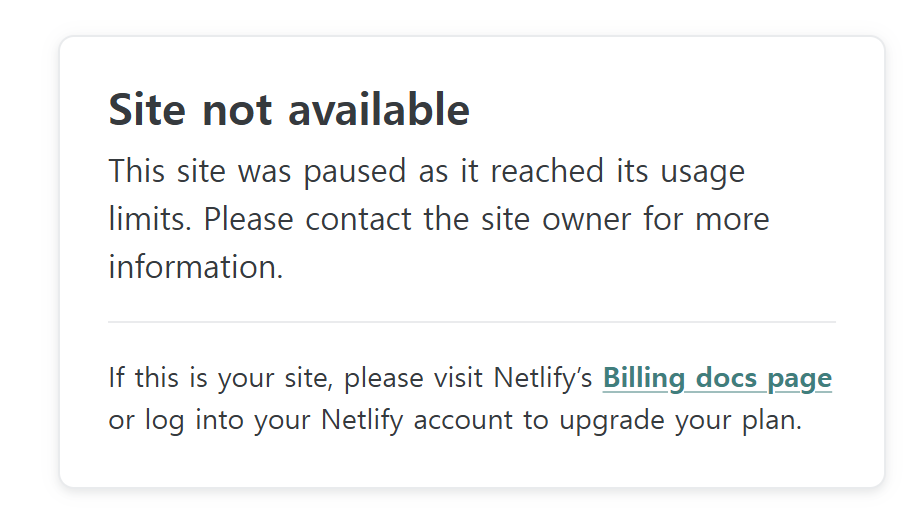
  • Netlify는 한 달에 300 credit을 무료로 주는데, deploy 한번 할 때마다 15 credit이 소모되므로 한 달에 20번만 사용가능

    • 이후에 접속하면 아래와 같이 접속이 안됩니다.
    • “credit limit”
  • 포스트 작성페이지에서 이미지 프리뷰가 지원 안됨

  • 블로그가 2개의 도메인에서 운영됨(하나의 깃허브의 io, 하나는 netlify.app)

  • CMS로 접속하기 위해서는 netlify.app 페이지로 접속해야 함


1. Netlify에 사이트에서 github 블로그 repo 연결

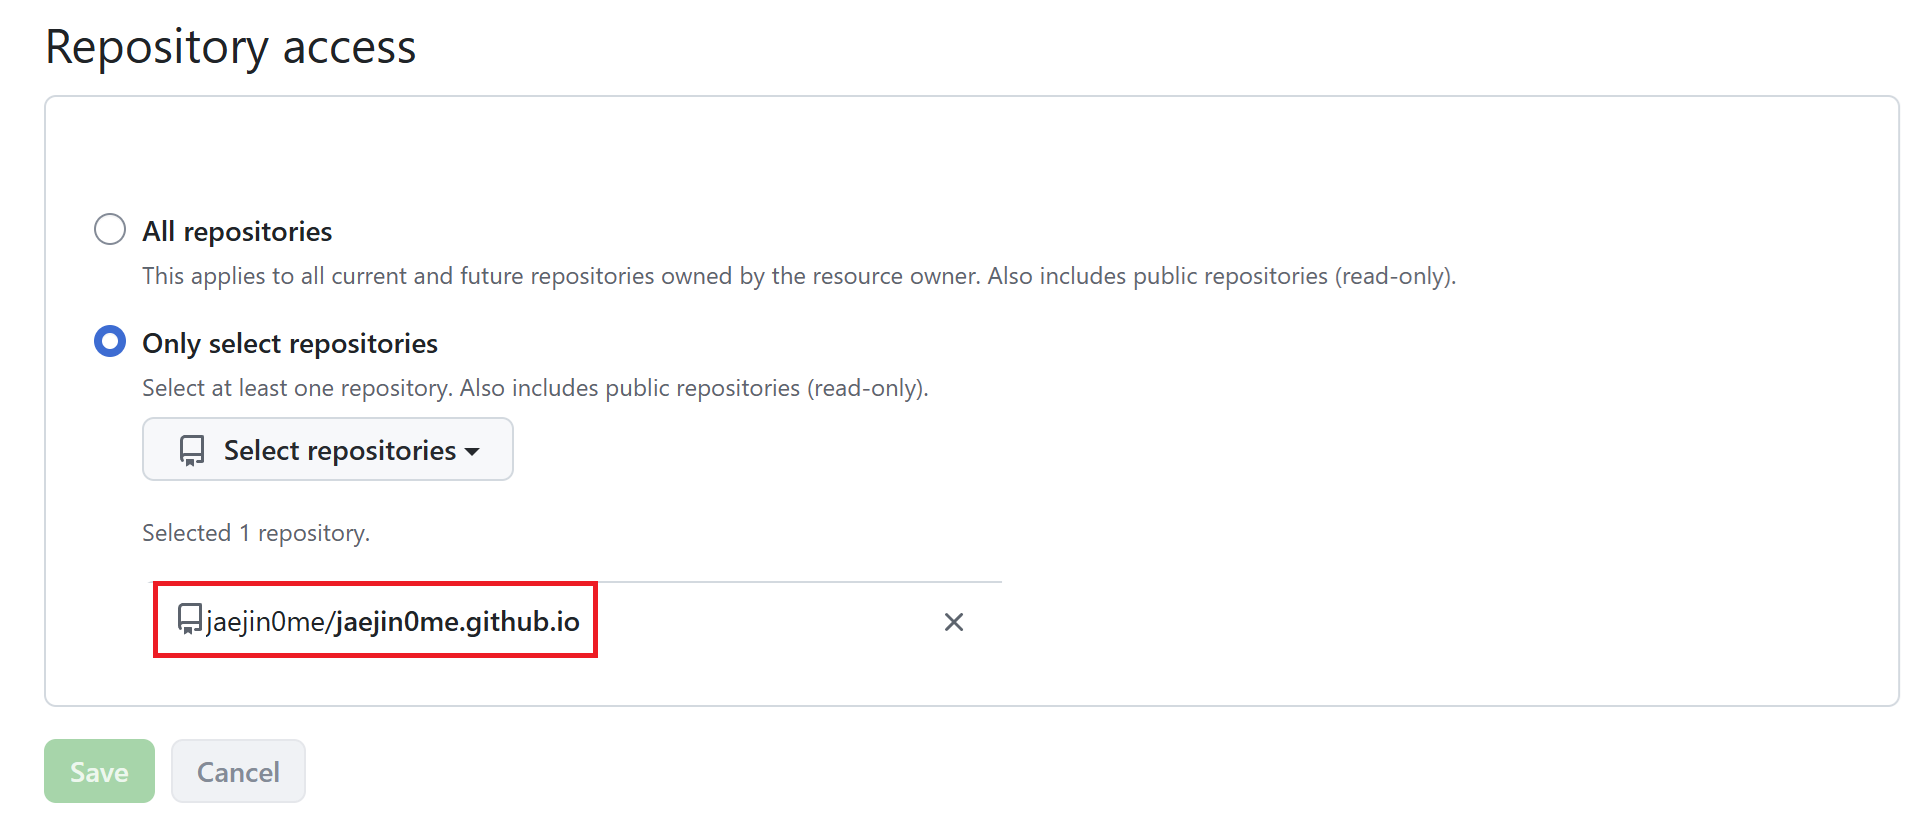
  1. Netlify → New site → Import from Git → GitHub 레포 선택 (jaejin0me/jaejin0me.github.io)
  • “netlify repo”
  1. Build settings:
    • Build command: hugo
    • Publish directory: public
  2. Deploy

2. Netlify Identity 활성화

Site settings → Identity → Enable Identity

그다음 Identity 설정에서:

  • Registration preferences → Invite only (외부인 가입 차단)
  • Services → Git Gateway → Enable Git Gateway
    • 여기에 Github API 액세스 토큰을 넣어야 하는데, github에서 직접 발급받으실 필요 없습니다.
    • 진행하다 보면 토큰을 생성해 주는 메뉴를 제공하는데, 해당 메뉴 이용하면 편하게 토큰값을 채워 넣어 줍니다.
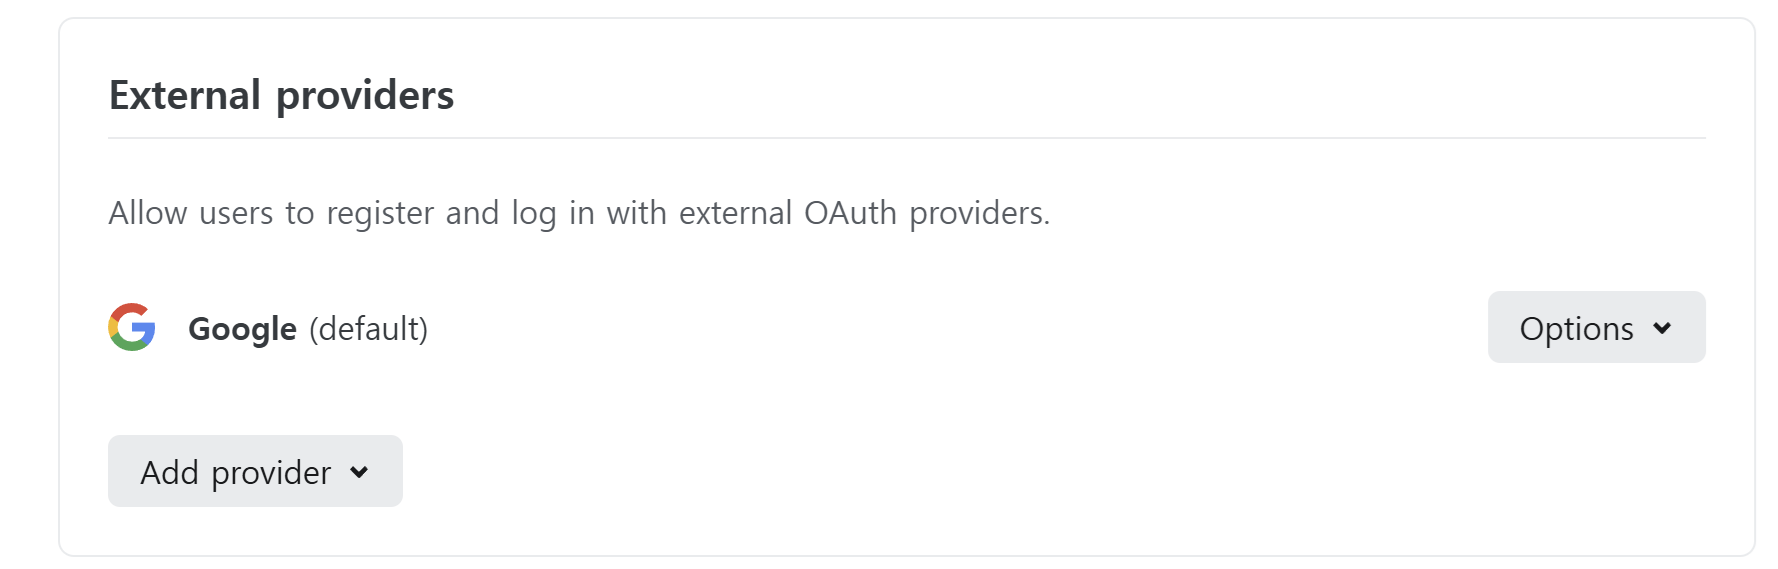
  • External providers 추가
    • SSO 로그인을 한다면 providers를 추가해 놔야 나중에 로그인할 때 해당 provider로 SSO를 제공합니다.
    • “external provider”

3. 블로그 저장소에 config.yml 추가

  • /static/admin/config.yml 에 추가하면 됩니다.
  • 자세한 설정은 chatgpt나 claude의 도움받아서 설정하면 됩니다.
 1
 2
 3
 4
 5
 6
 7
 8
 9
10
11
12
13
14
15
16
17
18
19
20
21
22
23
24
25
26
27
28
29
30
31
backend:
  name: git-gateway
  branch: master
  commit_messages:
    create: 'docs: {{fields.title}} 작성'
    update: 'docs: {{fields.title}} 수정'
    delete: 'docs: {{fields.title}} 삭제'
    uploadMedia: 'chore: 이미지 업로드 {{path}}'
    deleteMedia: 'chore: 이미지 삭제 {{path}}'
    
media_folder: static/uploads
public_folder: /uploads

locale: ko

collections:
  - name: post
    label: Posts
    folder: content/post
    create: true
    slug: "{{year}}{{month}}{{day}}"
    fields:
      - { label: "제목", name: title, widget: string }
      - { label: "작성일", name: date, widget: datetime, format: "YYYY-MM-DDTHH:mm:ssZ", time_format: "HH:mm:ss", date_format: "YYYY-MM-DD" }
      - { label: "태그", name: tags, widget: list, default: [] }
      - { label: "카테고리", name: categories, widget: list, default: [] }
      - { label: "작성자", name: author, widget: string, default: "Jaejin Jang" }
      - { label: "초안", name: draft, widget: boolean, default: false, required: false }
      - { label: "MathJax", name: mathjax, widget: boolean, default: false, required: false }
      - { label: "목차", name: showToc, widget: boolean, default: false, required: false }
      - { label: "내용", name: body, widget: markdown }

4. index.html 추가

  • /static/admin/index.html 에 추가하면 됩니다.
 1
 2
 3
 4
 5
 6
 7
 8
 9
10
11
12
<!doctype html>
<html>
<head>
  <meta charset="utf-8" />
  <meta name="viewport" content="width=device-width, initial-scale=1.0" />
  <title>Content Manager</title>
</head>
<body>
  <script src="https://identity.netlify.com/v1/netlify-identity-widget.js"></script>
  <script src="https://unpkg.com/decap-cms@^3.0.0/dist/decap-cms.js"></script>
</body>
</html>

5. 본인 초대

Netlify → Identity → Invite users → 본인 이메일 입력 → 메일 수신 후 계정 설정


6. 작성 페이지 접속

https://your-netlify-domain.netlify.app/admin/ 으로 접속

  • 접속페이지를 한 번 보여드려야 하는데, credit을 다 써서 접속이 안되네요 ㅜ